AutoGit is a free automatic deployment tool, it creates a git repository on your hosting package and will deploy on a "git push" to a specified branch. Each deploy ensures that a new folder is created with the latest version of the website.
In this article, we'll show you how to activate AutoGit on a Pro or Max web hosting package and give you a simple example of how to get started using AutoGit.
AutoGit is only available on Pro and Max web hosting packages.
We recommend only using AutoGit if you are familiar with Git. You can find more information about Git in this documentation.
Would you like more information about the possibilites of AutoGit? Then take a look at this Github page.
Activating AutoGit
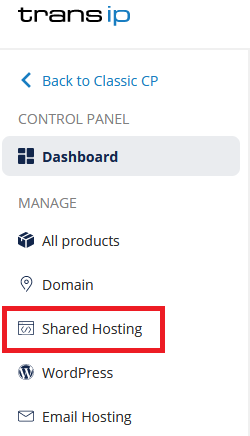
To activate AutoGit on your webhosting package, log in to the control panel and click 'Shared Hosting' in the menu. Next, select your domain below 'Products'.

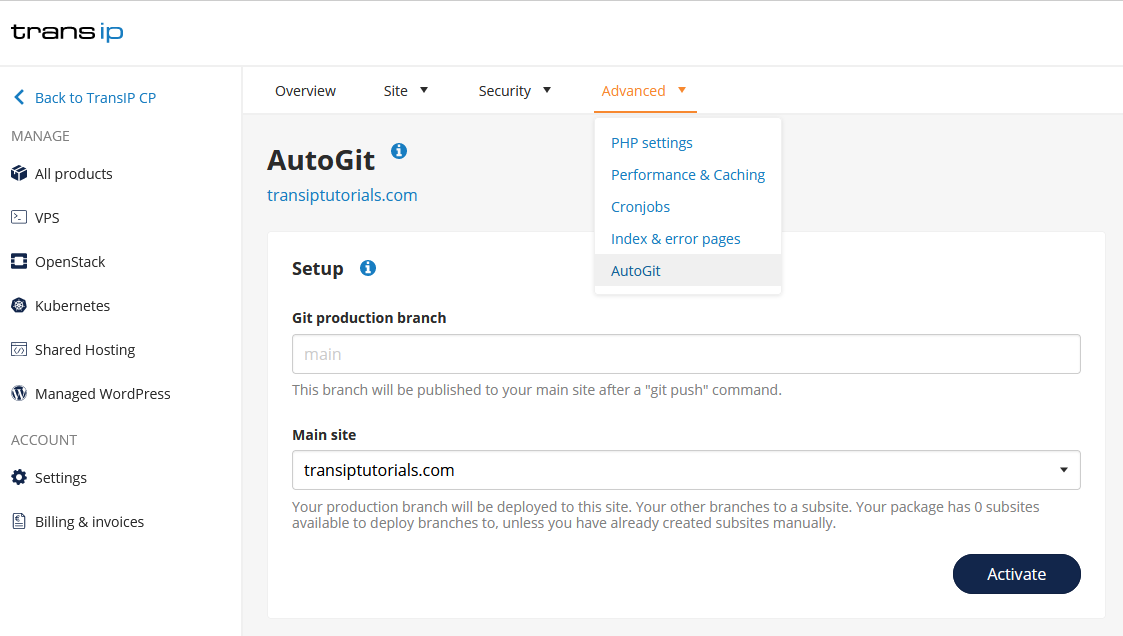
Click the 'Advanced' tab at the top, followed by 'AutoGit'.

Git production branch
Enter the 'Branch' you want to publish to your website. In our example, we enter 'master' here.
Main site
Select the website you wish to use in combination with AutoGit.
As soon as you press 'Activate' AutoGit will be enabled. After this the 'Git repository' is shown, you will need this later to create a local git repository.
Using AutoGit
You can execute the comands from the example below in your terminal via SSH. For AutoGit, we recommend using GitBash.
Step 1
Create a local Git repository by cloning the repository from your hosting package. Use these SSH commands for this:
cd ~/Projects/
git clone transiptutorialsnl@transi.ssh.transip.me:auto.git transiptutorials.nl
cd transiptutorials.nl
Replace transiptutorialscom@transi.ssh.transip.me:auto.git and transiptutorials.com with your own Git repository and domain name.
Step 2
Add the '.autogit.yml' file to your repository. You do this by saving the '.autogit.yml.example' file that was created for you as '.autogit.yml'. In the example below we also add a www-folder and an index file which prits phpinfo. To do this, use the following commands:
scp transiptutorialsnl@transi.ssh.transip.me :autogit.yml.example .autogit.yml
git add .autogit.yml
git commit -m "Add the default .autogit.yml template"
mkdir www
echo "<?php phpinfo();" > www/index.php
git add www/index.php
git commit -m "Add an index file to the required www folder (printing phpinfo)"
In your command, replace transiptutorialscom@transi.ssh.transip.me with your own information. This is your 'Git repository' without ':auto.git'.
Step 3
Push your changes to your main site with the following command:
git push -u origin master
Your changes will now automatically be pushed to your live site by AutoGit.


